![]()
This is a step by step beginner’s guide shows how to install NVIDIA proprietary driver in Ubuntu. And, how to switch between Intel/AMD and NVIDIA GPU, run specific app/game with NVIDIA while leaving others rendered by integrated graphics card.
While installing Ubuntu, the wizard provides an option to install the NVIDIA proprietary driver alongside. If you didn’t enable that option, then here’s how to manually install it afterward.
Step 1: Enable Restricted Repository
The NVIDIA proprietary driver is a non-free software that is available in the restricted system repository.
That repository is usually enabled by default. Just in case, you can launch Software & Updates and verify by checking “Proprietary drivers for devices (restricted)” option.

Make sure ‘restricted’ repository enabled
After that, it’s also important to install all available updates! Which can be done either by using Software Updater
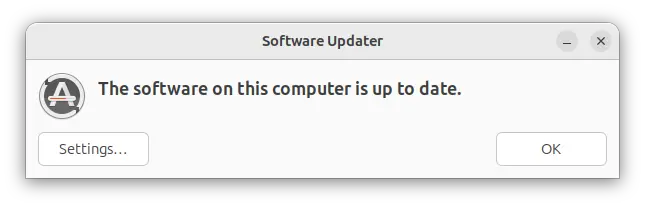
or press Ctrl+Alt+T to open terminal and run the command below instead:
sudo apt update && sudo apt upgrade -y
When done, restart your computer to apply updates if prompted!
Step 2: Install NVIDIA Driver
Now, search for and launch Additional Drivers utility. It will list available drivers for your device. Choose desire one (in my case, I selected nvidia-driver-535), then click “Apply Changes”.

There’ll be a little process bar in bottom of the app window. When done installing the driver, it prompts that “You need to restart the computer to complete the driver changes”. Just click on “Restart” button to apply.
Step 3: Switch Between NVIDIA and integrated GPU
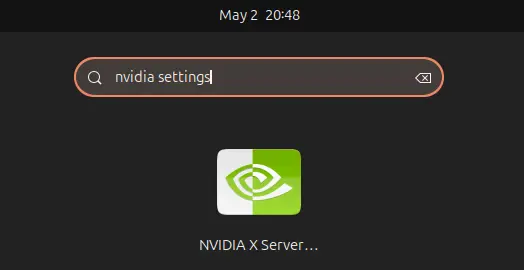
For laptop users with hybrid graphics (Intel + NVIDIA in my case), just search for and launch NVIDIA Settings utility.
When it opens, you can navigate to PRIME Profiles tab, for switching between following GPU modes:
- NVIDIA (Performance) – use NVIDIA only for the Desktop.
- NVIDIA On-Demand – use integrated GPU (Intel in my case), and only NVIDIA when specified.

The Intel (Power Saving Mode) mode is grayed out. If you want to choose it, then press Ctrl+Alt+T to open up a terminal window, and run command instead:
sudo prime-select intel

After switching GPU, you need to restart computer to apply change!
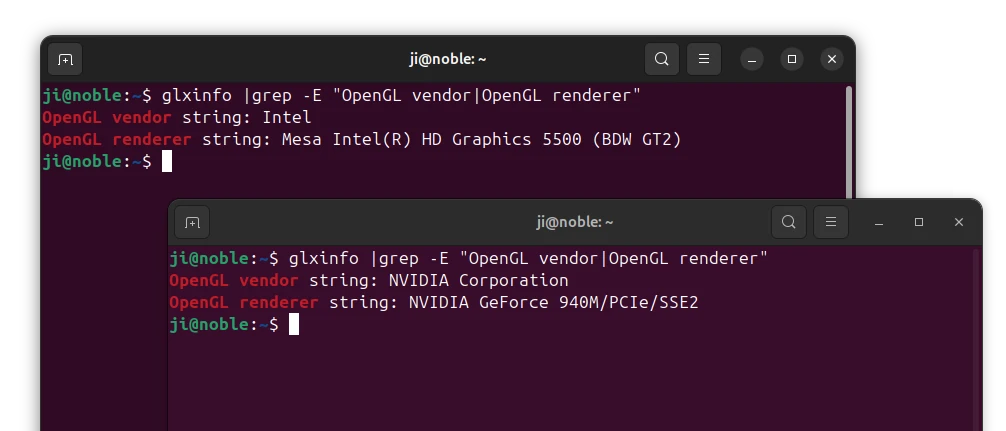
To tell which GPU is currently in use, run command:
glxinfo |grep -E "OpenGL vendor|OpenGL renderer"
If command not found, run sudo apt install mesa-utils to install.
NOTE: In my NVIDIA GeForce 940M with nvidia-driver-535, the performance mode seems NOT being friendly with Wayland. Ubuntu will default to Xorg session when NVIDIA (Performance) mode enabled. If select to manually login Wayland, then it automatically falls back to Intel graphics (On-Demand mode).
Step 4: (Optional) System Status Menu Options to switch GPU mode

For the default GNOME Desktop, there’s an extension adds top-right system status menu option to switch GPU mode.
1. The extension however needs a free open-source tool called envycontrol. To install it, simply download the .deb package from its project page:
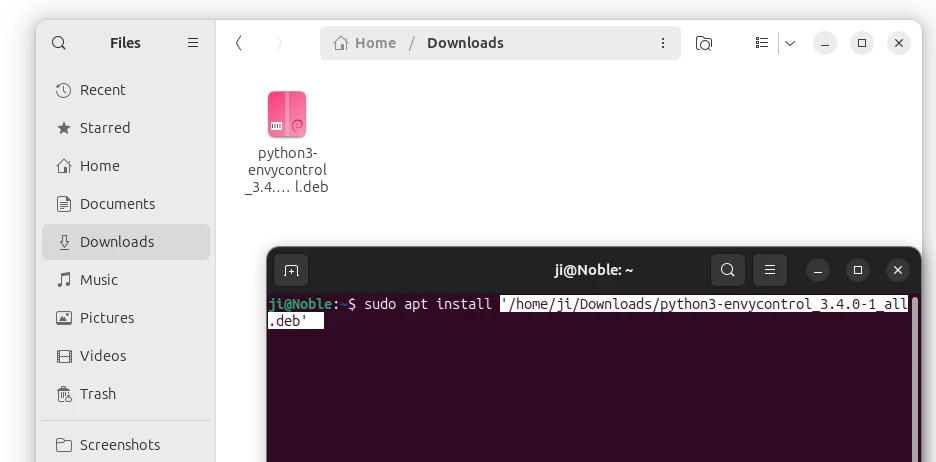
Then, press Ctrl+Alt+T to open up a terminal window, and run command to install the downloaded .deb package:
sudo apt install ~/Downloads/python3-envycontrol_*_all.deb
If you didn’t save it in Downloads folder, then drag’n’drop file into terminal after typing sudo apt install plus a space.
2. Next, search for and install Extension Manager from either Ubuntu Software or App Center (filter by Debian package).
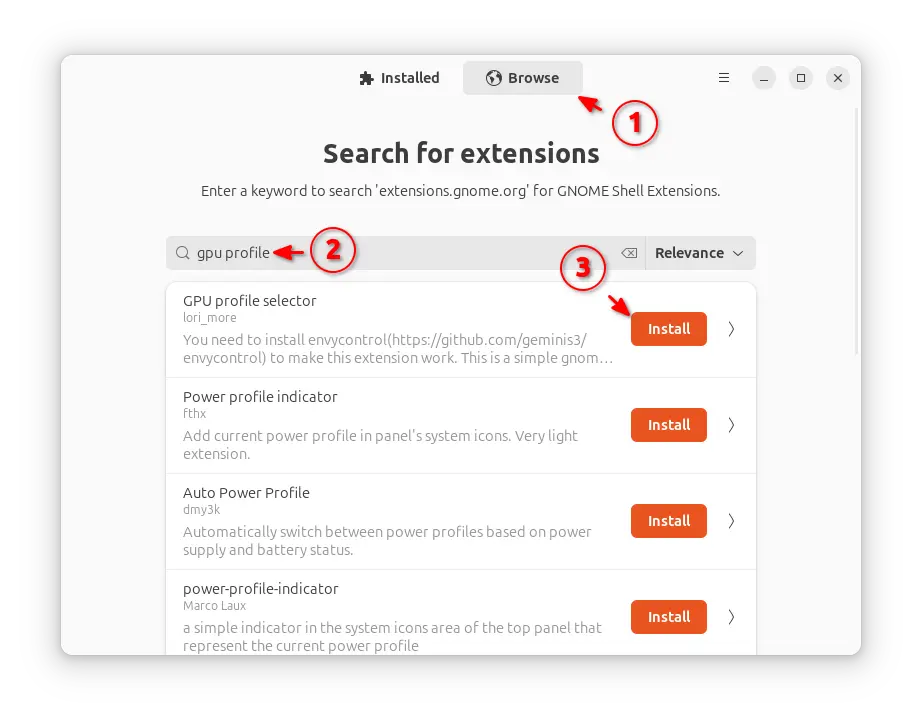
Launch Extension Manager, navigate to ‘browse’ tab, finally search and install “GPU profile selector” extension.
Once installed, you can go top-right system status menu (aka Quick Settings) for the new menu options.
Step 5: Run Certain Apps via NVIDIA GPU while others by Intel
When in NVIDIA On-Demand, most things are rendered by integrated GPU (Intel in my case). If you want to run games or some apps using NVIDIA, then this step may help.
1. First, for CUDA apps, just open terminal (Ctrl+Alt+T) and run command:
sudo apt install nvidia-cuda-toolkit
Then there’ll be application-specific menu to tell it which device to use.
2. For other apps or games, just set environment variables.
__NV_PRIME_RENDER_OFFLOAD=1
__GLX_VENDOR_LIBRARY_NAME=nvidia
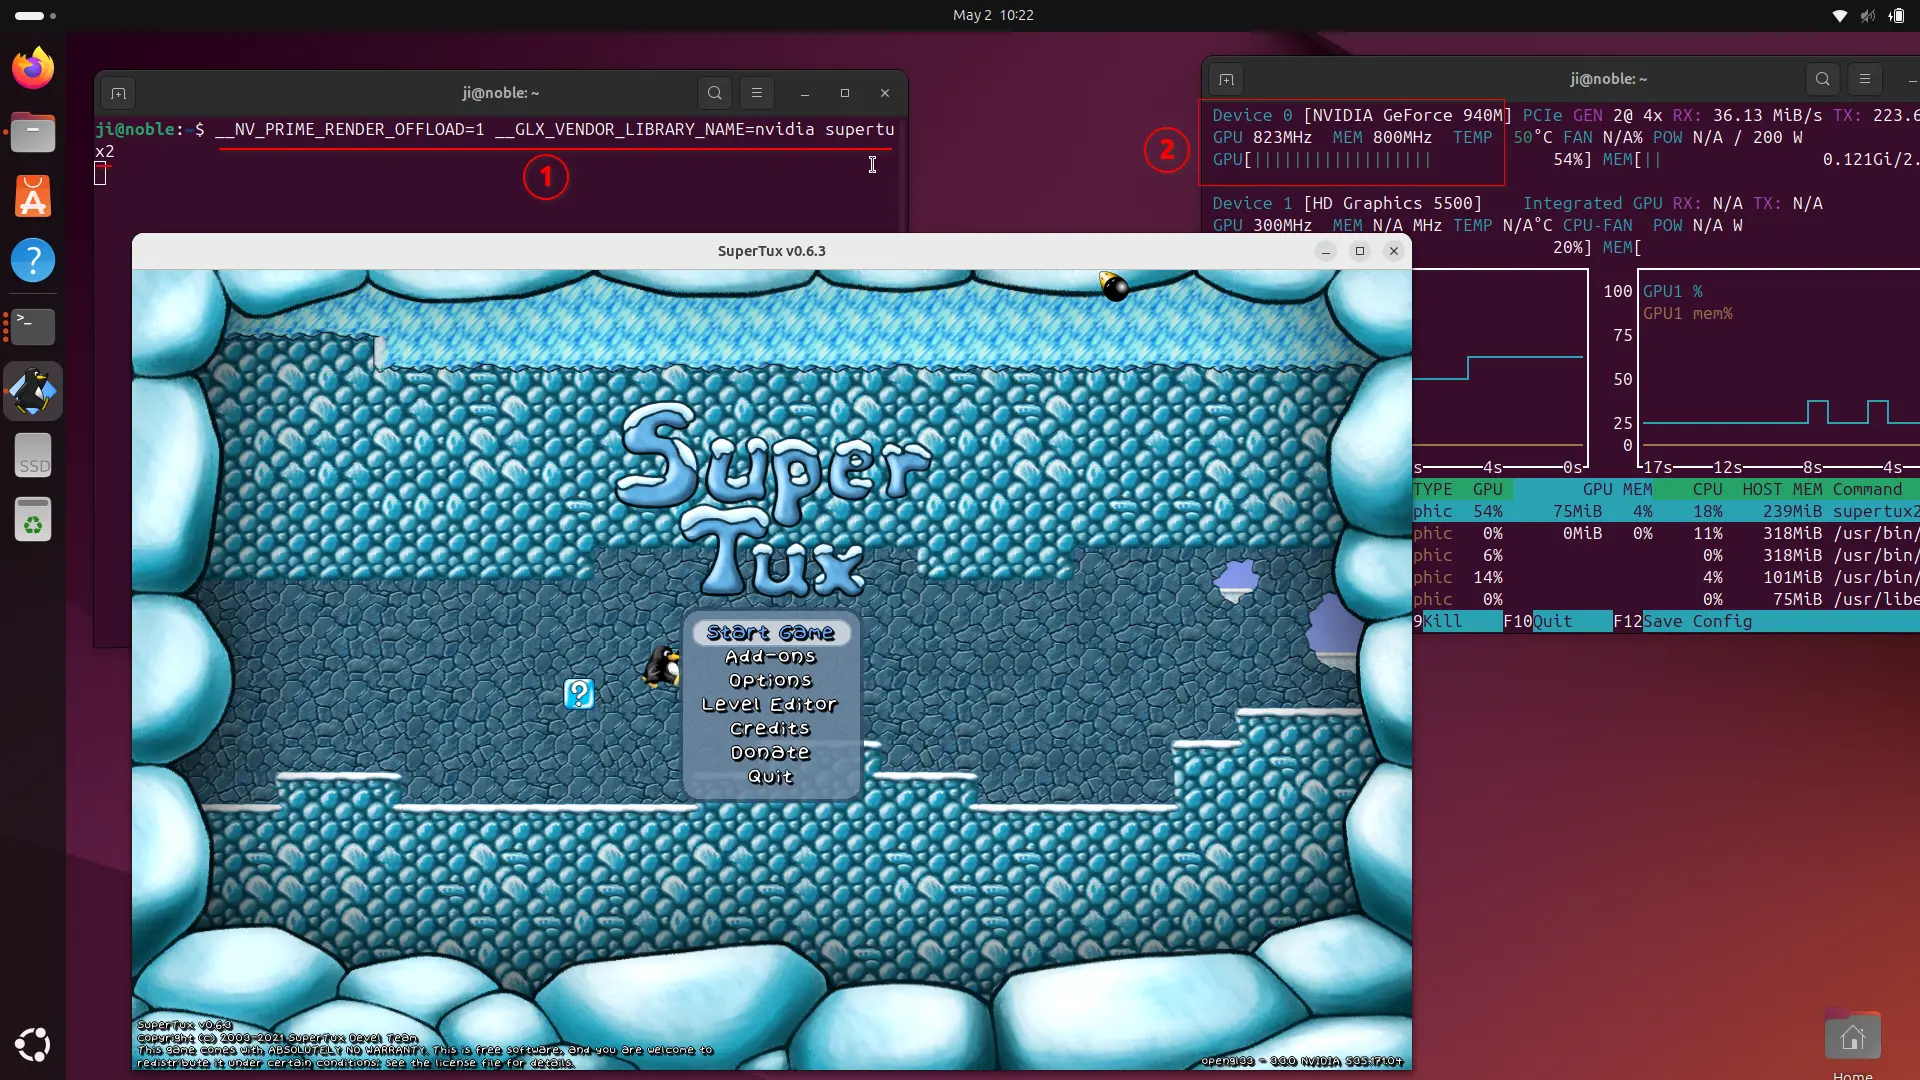
For example, run the command below from terminal to launch supertux2 (the classic jump & run game) and render via NVIDA GPU:
__NV_PRIME_RENDER_OFFLOAD=1 __GLX_VENDOR_LIBRARY_NAME=nvidia supertux2
And, you can verify by running sudo apt install nvtop command, then run nvtop to monitor your GPU usage.
To make it permanent, just edit the .desktop shortcut file for that app or game. Depends on the app package, find it in following locations:
/usr/share/applicationsfor deb and snap packages..local/share/applicationsfor user added or app auto-created shortcuts./var/lib/flatpak/exports/share/applicationsfor flatpak packages.
Once you found out the corresponding shortcut file, edit it and change the Exec line to look like:
Exec=env __NV_PRIME_RENDER_OFFLOAD=1 __GLX_VENDOR_LIBRARY_NAME=nvidia supertux2

Finally, try launching the app or game from start menu or GNOME app grid, and verify by nvtop command.
Summary:
In this tutorial, I’ve showed you how to install NVIDIA driver in Ubuntu. In short, just enable ‘restricted’ repository, then select Apply a driver from “Additional Drivers” utility.
Next, you can use either NVIDIA Settings or prime-select command to switch between integrated and NVIDIA GPUs. And, by settings environment variables you may run certain apps/games with NVIDIA GPU while leaving others rendered by integrated GPU.
source https://ubuntuhandbook.org/index.php/2024/05/install-nvidia-ubuntu-2404/


Tidak ada komentar:
Posting Komentar